Growing Brussels sprouts is a process accessible to any gardener. If you have already mastered the handling of other cruciferous vegetables, and, for example, white cabbage grows well in your garden, then there should be no problems with its "large" relative.
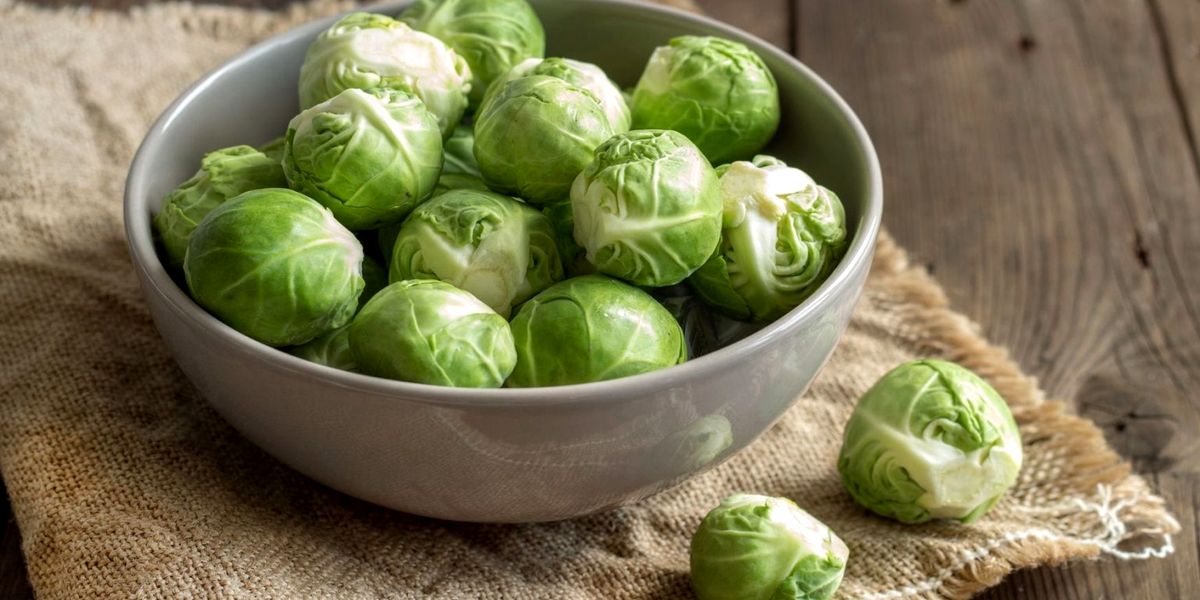
This unusually useful crop, containing huge reserves of vitamin C, protein and minerals, has one important feature - it is extremely slow. Almost half a year will pass from sowing to harvesting, so if you want to include cabbage in your diet in the summer, it is better to choose kale, broccoli or cauliflower.
How to sow Brussels sprouts
Remembering that from sowing to ripening for different varieties of Brussels sprouts takes from 130 to 180 days, and taking into account the climate of your region, you need to choose the dates for sowing seeds.
Brussels sprouts like cool weather and do not form heads in the heat, so choose the sowing time so that the ripening period falls on a period with an average daily temperature of no higher than 18-20 ° C.
Preparing seeds for sowing
For those who are going to plant several Brussels sprouts "for a trial", the best option would be to buy seeds that have undergone industrial preparation. Disinfected, treated from diseases and parasites, treated with a growth stimulator seeds are more expensive, but they will give good shoots and will not require extra effort. But if you are planting a solid volume of seedlings at once, it will be cheaper to buy the simplest seeds, and then process them yourself.
For processing you will need:
- immerse the seeds in water heated to a temperature of 50 ° C for 20 minutes;
- then immediately cool under running water for 1-2 minutes;
- soak in a solution of Kornevin or Epin for 12 hours;
- rinse and put in the refrigerator (vegetable drawer) for a day;
- dry the seeds so that they do not stick to your fingers during sowing.
Sowing Brussels sprouts for seedlings

Brussels sprouts should be sown in separate pots with a mixture of turf soil, peat and sand (in equal proportions). Before sowing, add 3-4 tablespoons of wood ash and 0.5 tablespoons of superphosphate per 1 kg of mixture to the soil. If planting is done in large containers, the distance between the seeds should be at least 4 cm.
The seeds are deepened by 1.5 cm, moistened, and then the container with them is taken out onto the balcony. For the best quality of seedlings, the air temperature during the day should not be higher than 16-18 ° C, and at night about 5-6 ° C, in addition, the room should be sufficiently humid (about 70%).
The seedlings are not watered for the first 2 weeks, and then they begin to ensure that the soil is always slightly moist, without flooding, but also without drying it out. In the cotyledon development phase, the cabbage must be transplanted into separate containers, trimming the main root if necessary. This must be done after watering the seedlings and together with the soil lump.
How to feed Brussels sprouts seedlings
During the growing season, Brussels sprouts seedlings are fed twice, and after each feeding, they are watered generously. The first time this is done when the seedlings develop 2 true leaves. To prepare the mixture, 40 g of superphosphate, 20 g of ammonium nitrate and 10 g of potassium sulfate are dissolved in 10 liters of water. The second time (after 2 weeks), the solution is changed. Now, 60 g of superphosphate, 30 g of ammonium nitrate and 20 g of potassium sulfate must be added to 10 liters of water.
Planting Brussels sprouts seedlings in beds

The seedlings are considered ready to move to a permanent location when they develop 4-5 true leaves. Most often, this happens by the end of May or the beginning of June.
Preparing Brussels sprouts for planting begins 2 weeks before the actual action. Gradually (from 30 minutes a day), the seedlings are kept outdoors for up to 24 hours and only then are they planted. 4-5 days before planting, the seedlings stop being watered, and a few hours before the procedure, the soil is abundantly moistened with water.
For planting Brussels sprouts in the ground, it is better to choose a cloudy day or do it in the evening, when direct sunlight no longer hits the bed.
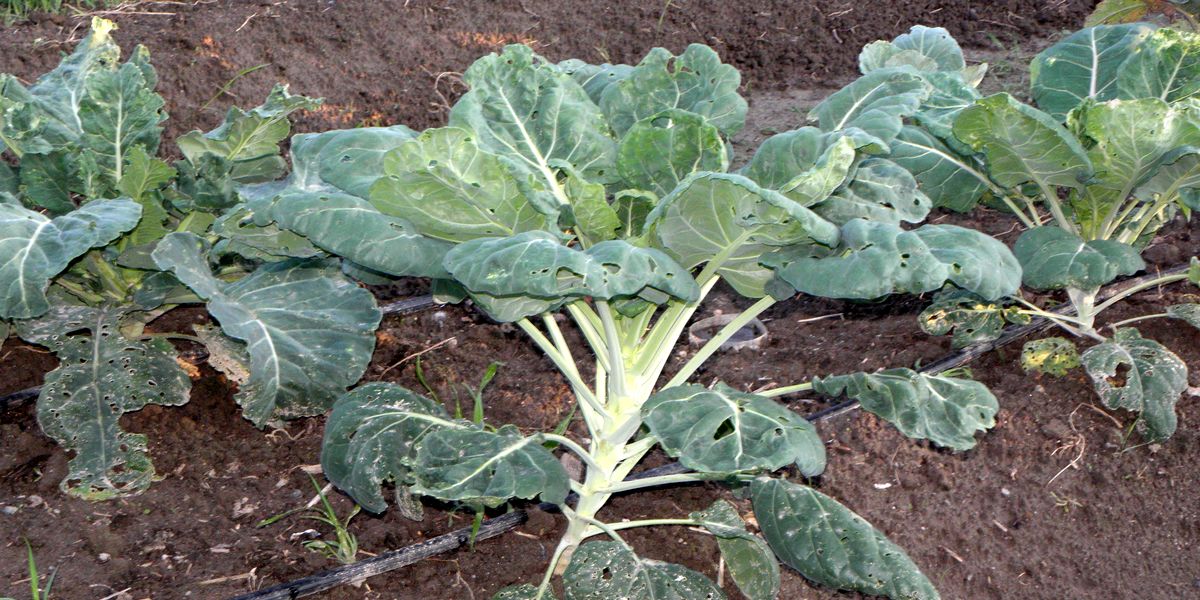
Brussels sprouts grow and bear fruit most actively on fertile soils with a pH of 6.7-7.4, as well as in illuminated areas. For this, you need to choose a place where cruciferous vegetables, tomatoes and beets have not grown in the last 4 years. In the dug and deoxidized bed in the fall, add a bucket of compost or humus per 1 sq.m. in the spring, and add 2 cups of wood ash, 2 tbsp. superphosphate and 1 tsp. urea to each hole.
Place the cabbage according to the 60x60 cm pattern, while the holes should be slightly larger than the seedling pot. Transfer the seedlings together with the lump of earth, sprinkle with soil, compact it and water generously.
Caring for Brussels sprouts
Growing Brussels sprouts is practically no different from growing white cabbage. True, there are some features. For example, Brussels sprouts do not need hilling, because it leads to rotting of the lower heads of cabbage, and sometimes the entire stem.
When and how to feed Brussels sprouts
Fertilizers applied to Brussels sprouts increase your chances of not only a good harvest, but also healthy plants, so you should not skip feeding. In total, during the period of cultivation in the beds, this crop needs 2 mineral fertilizers, but if you grow it in fertile soil, you can get by with just one.
- The period of application is a week after planting in the bed. The product is 1 teaspoon of nitrophoska per 10 liters of water. The consumption rate is 5 liters per plant.
- The period of application is at the beginning of the formation of heads of cabbage. The product is 25 g of superphosphate, 25 g of potassium sulfate, 1 teaspoon of nitroammophoska per 10 liters of water. The consumption rate is 1.5 liters per plant.
How to water Brussels sprouts
This crop loves moisture and responds well to watering. It should be done every week, using 30-35 liters of water per 1 sq.m. before the heads appear, and 40-45 liters after they begin to form.
After watering, the cabbage must be loosened and weeded. During periods of rain or high humidity, the frequency of watering should be reduced and water stagnation in the root zone of plants should not be allowed.
Pests and diseases of Brussels sprouts
In this, Brussels sprouts are also similar to all other cruciferous plants - they suffer from the same diseases and are afraid of the same pests. Of the insects on the plantings, you can most often find the cruciferous flea beetle, cabbage leaf beetle, cabbage and sprout fly, wavy and black flea beetle, cabbage white butterfly, fire moth, aphids and moths, cabbage and rapeseed bugs, mole crickets, cutworms, wireworms and rape blossom beetles.
The most common diseases of Brussels sprouts are clubroot, white and dry rot, black leg, black and ring spot, downy mildew, vascular and mucous bacteriosis and mosaic.
How to protect Brussels sprouts
Preventing diseases and insect infestations is always cheaper than fighting them. Therefore, in order to protect your Brussels sprouts, do not forget about a number of measures:
- observe crop rotation, do not plant cruciferous plants in the same bed for several years in a row;
- remove all plant residues from the beds;
- do not compost diseased plants, but remove or burn them;
- regularly remove weeds from the beds;
- do not skip mineral fertilizers and do not replace them with organic ones only;
- at the first signs of disease, remove the affected plant, and water the soil under it with a pink solution of potassium permanganate;
- regularly pollinate the plants and beds with wood ash or its mixture with tobacco dust;
- in case of mass pest attacks, use insecticides Ambush, Decis, Karate, Rovikurt, Korsar, etc.;
- if signs of fungal diseases appear, treat the plantings with fungicides Quadris, Skor, Topaz according to the instructions.
Harvesting and storing Brussels sprouts

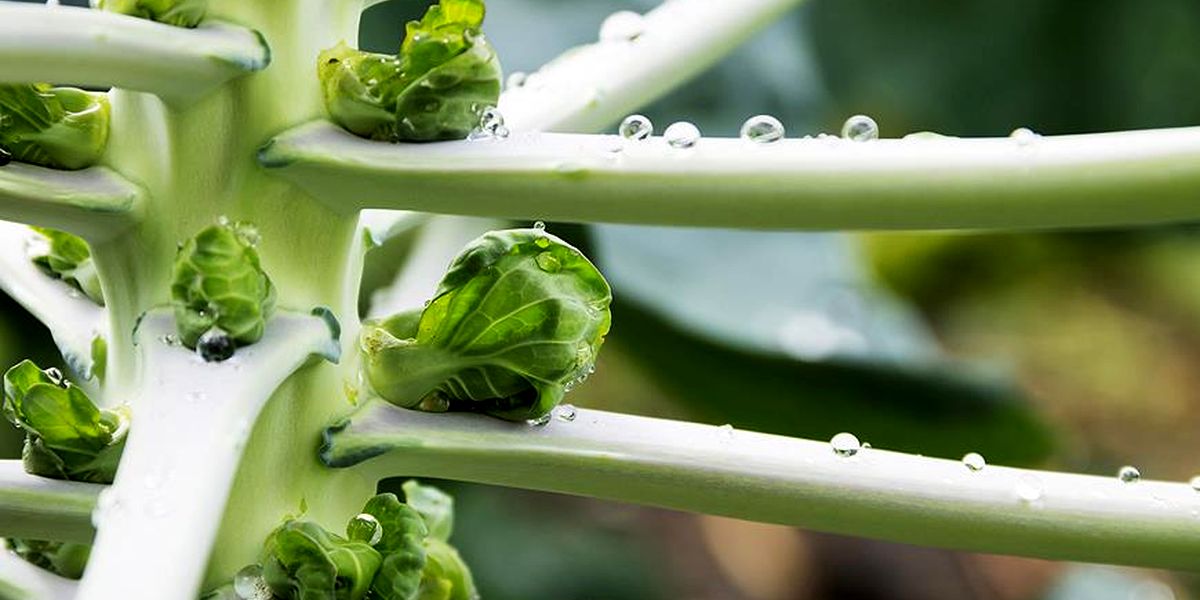
The first heads of Brussels sprouts ripen within 3 months after planting, but this is no reason to rush harvesting. Negative temperatures only benefit the taste of the cabbage, and do not affect the content of vitamins and nutrients in it, so harvesting can be safely postponed until the cold weather.
3-3.5 weeks before harvesting, trim the top of the cabbage and remove all the leaves so that the energy goes to ripening the fruits. Gradually remove the lower fruits, leaving the upper ones the opportunity to "ripen". Wait until the thermometer drops below -6 ° C, but does not reach -10 ° C - at this time, the heads of cabbage are most suitable for harvesting for storage.
For different storage periods and options, you need to cut Brussels sprouts differently:
- for long-term storage in the cellar, dig up the cabbage with the root, cut off its leaves and bury it in boxes with soil, pushing the plants tightly against each other;
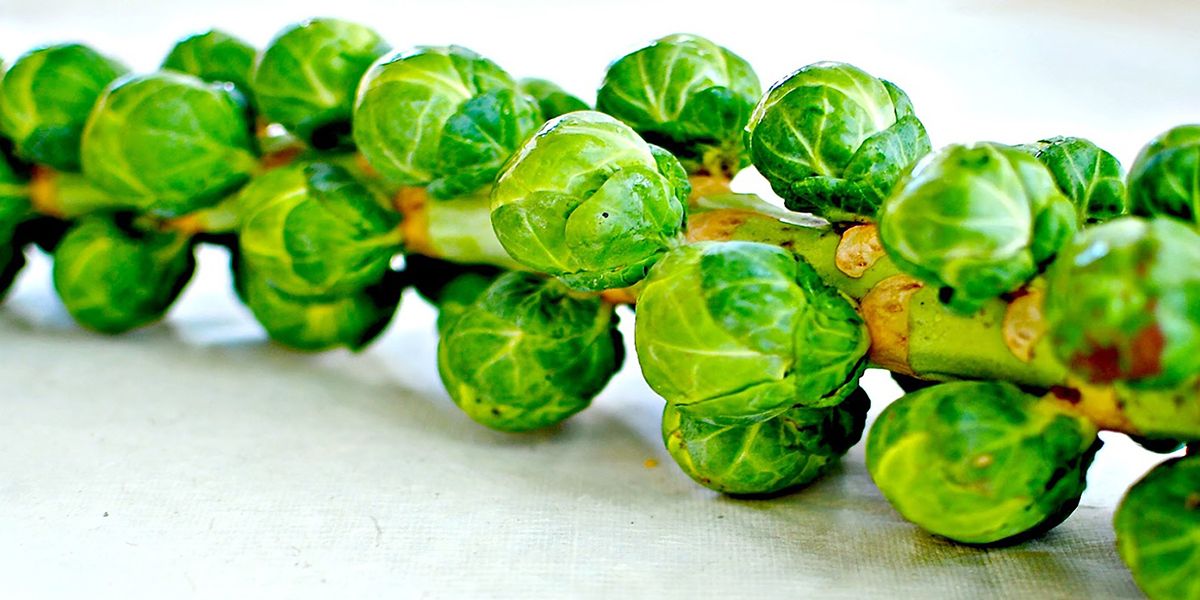
- for hanging or shelf storage, cut the stem above the ground, cut off the leaves and top, and dry the stems with heads and take them to a permanent place;
- you can also wrap the heads on the stem in film and store them in the refrigerator for up to 1.5 months;
- cut heads of cabbage can be stored the longest in the freezer with or without preliminary blanching.
Which variety of Brussels sprouts to choose
If you do not know which variety of Brussels sprouts to choose, focus primarily on the climate of your region and such an indicator as the ripening period. If your summer is short, choose early ripening varieties, but if you have enough time before the cold weather, you can experiment with mid- and late-ripening ones.


Write a comment